If you're already utilizing SkySlope Forms, you know how the streamlined process and ease of use make getting your contracts signed infinitely easier. If you haven't started using SkySlope Forms, maybe these tips and tricks will show you how cool it really is. Take a look at these tips and tricks that'll help you get work done even faster in SkySlope Forms—if that's even possible. ?
SKYSLOPE FORMS - TIPS + TRICKS
Preview Forms
With this feature, you can preview a form to give it a once-over before adding it to your file. On the Add Forms page, simply click on the name of the form and a preview window will open. Once you're sure it's the right form, click the Add button to add it to your Forms file.
SUPPORT TIP! You can also preview forms when adding forms into a Forms Templates!

Preview Forms Outside of a Forms File
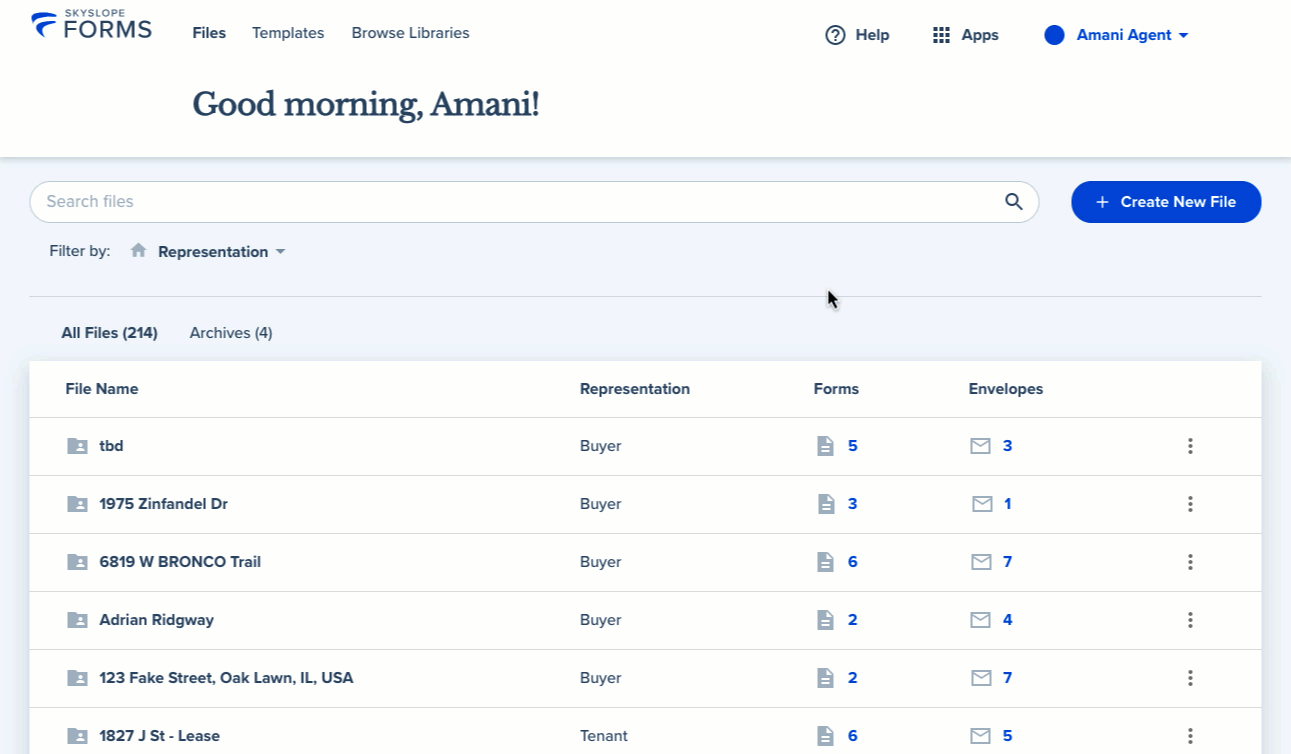
One of our most-requested Forms features is now available: browsing forms outside of a file! With this feature, you can now view, download, and print forms without first needing to create a file. From your SkySlope Forms Dashboard, click on Browse Libraries in the upper-left corner to begin accessing your forms outside of a Forms file. Once on the Browse Libraries page, you can use Search to search by key words, or Filter results by your available libraries.
Avoid Adding Duplicate Forms
We've made it easier to avoid adding a form more than once by showing you which forms are already in your Forms file on the Add Forms page. When adding forms, you will see an "✔️ Added" label for forms that have already been added to your Forms file.

Add & Remove Forms from Form Filling Page
Using the + and - icons on the Form Filling page makes it easier than ever to manage the forms included in your envelope. After you've selected your forms and clicked Fill & Send, you have one final opportunity to either include additional forms or remove unwanted forms before moving forward.

Correct a Forms Envelope
If you've sent forms to your client for signature, and noticed an error during the signing process, you can correct the envelope to quickly fix the error - rather than having to prepare and send a whole new envelope! Open your Forms file, and then navigate to the Envelopes tab. Click the Actions Menu icon, and then select Correct Envelope. If you proceed with correcting the envelope, any signers who have already signed will have to sign again after you've finished resending the envelope.

NOTE: Correcting an in-progress Forms envelope only allows you to make changes to the signature, initial, date (etc.) blocks that are added onto the form. If you need to make a change to the form content itself - such as adding, editing or removing text, adding a form, or removing a form - you will not be able to do that by correcting an envelope. To make any changes specific to the forms themselves, you will need to create a new envelope. Additionally, the Correct Envelope feature is only available for Sent and In Progress envelopes; you cannot make corrections to a Completed or Canceled envelope.
Rename a Forms File
A Forms file is usually tied to a particular client or address, and the file would be named accordingly. However, if circumstances change, you can rename your Forms file so that it's labeled accurately and easy to locate. From the Files page, click on the Actions Menu icon ![]() on the right side of the page, and then click Rename. Then, simply enter a new name, and click Save.
on the right side of the page, and then click Rename. Then, simply enter a new name, and click Save.
SUPPORT TIP! You can also rename your Forms File after you open the file and navigate to the File Details page.

Duplicate a Forms File
Writing multiple offers? During this hot market, you now have the ability to make a copy of a file to make starting a new file quick and easy. Duplicating a file will copy forms, property info, contacts, and any other file data. From the Files page, click on the Actions Menu icon ![]() on the right side of the page, and then click Duplicate. This will create a new copy of that file so that you can quickly edit any necessary data, and get new forms sent out for signatures.
on the right side of the page, and then click Duplicate. This will create a new copy of that file so that you can quickly edit any necessary data, and get new forms sent out for signatures.

Archive a Forms File
Getting more deals is great! But having a long list of files that you're no longer working on can be overwhelming. To slim down your list of files to those that are most current, you can Archive your past deals. From the Files page, click on the Actions Menu icon ![]() on the right side of the page, and then click Archive. From there, the file will be moved out of your active Files list, and into your archived Files list. If you wish to restore the file, click on the Archived tab; then click on the Actions Menu icon, and select Restore.
on the right side of the page, and then click Archive. From there, the file will be moved out of your active Files list, and into your archived Files list. If you wish to restore the file, click on the Archived tab; then click on the Actions Menu icon, and select Restore.

Signing with a Custom Signature
These days, your identity is everything. When signing forms with SkySlope Forms, we have pre-selected signatures available to make signing fast and simple. But if you or your client would prefer to have their real signature on the document, adding a custom signature is a cinch. When signing, you will reach a page titled Let's Set Your Signature. On that page, simply select the Draw option. You can then use your finger tip (if using a touch screen device) or your mouse (if using a PC) to draw your signature and initials.

Save Work as a Template
We love streamlining and automating workflows. Using Forms Templates saves you time and reduces the amount of data entry. Once you've invested time and effort into adding and filling out Forms, you can save all of your work up until that point as a Template that can be reused in the future. To do this, you would simply click the Save Work as Template button after you've finished filling out your forms. That will create a brand new Template, saving the selected forms and any data for you to easily use again.

Ready for more? Sign up for our "on your time" SkySlope Forms training!
Was this article helpful?
That’s Great!
Thank you for your feedback
Sorry! We couldn't be helpful
Thank you for your feedback
Feedback sent
We appreciate your effort and will try to fix the article